Create packages
In our example, we will split application in three parts:
- initialization of session (startup page),
- hello world page,
- session closure page.
In order to demonstrate packages usage, we will define 3 packages to store these 3 parts of our application. Note that in a real-world application, we would not use a package per page, but we would split our application in bigger parts.
WARNING: do not confuse plugin's packages with Struts2 packages:
plugin's packages offer a functionnal organization of your code. Usually, you group your nodes in packages when these nodes are functionnaly very close (example: views are groupped with theur associated actions). Although struts2 packages may be used to group actions by functional scope, this is not their goal: they are usually used to group actions that are technically very close (they share the same interceptors, exception-mappings and so on...).
Overview
Open project.aswp file:
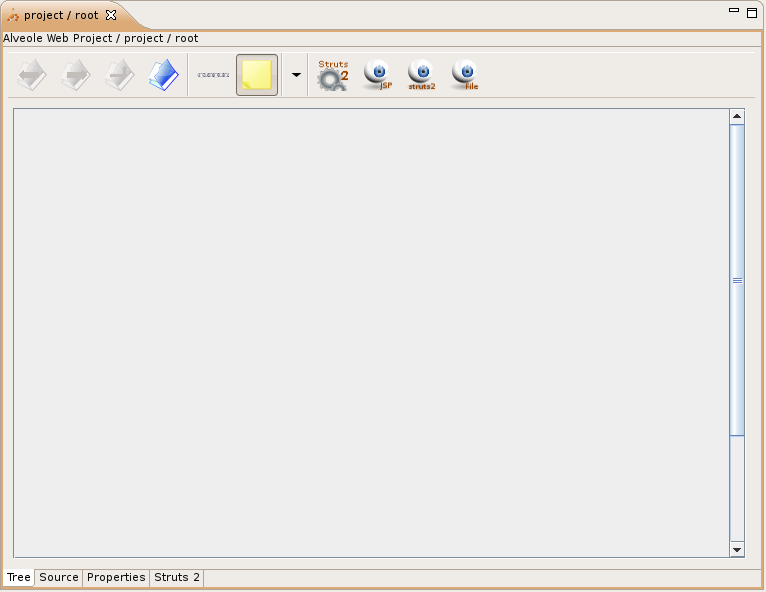
Editor is composed of a left panel that will display graph, and a toolbar on the right.
Toolbar is splitted in 4 parts:
- Package creation / navigation,
- Edition mode / view settings,
- Actions,
- Views.
In the addition to editor, plugin also defines an eclipse view panel, that is used to display some dialogs when using editor. By default, this view is only displayed when needed. It may appear anywhere (eclipse chooses the part of the workspace that will display the view). You can move it on any part of eclipse workspace.
Create packages
Create first package: click on "package" button:

This opens a new view in eclipse. This view is designed to be placed on the right part (drag'n drop it from where it has been opened):
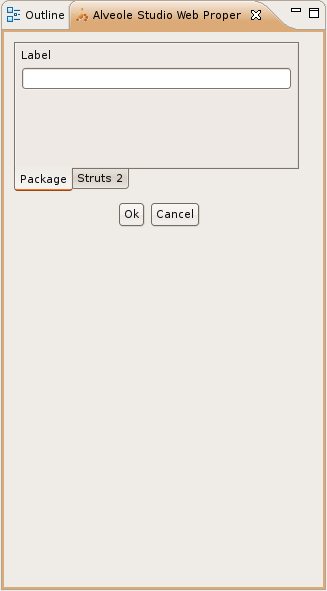
Enter display name for package (label is the string that is displayed on this package) :

and click OK...
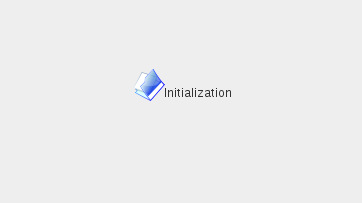
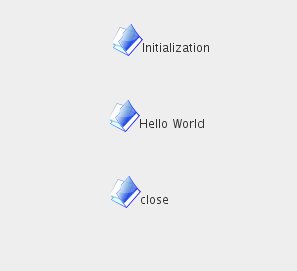
Repeat this operation and create package "hello world" and "close". Organize newly created packages on graph panel by drag'n drop:
Link packages
Now, we need to link init package to hello world package, and hello world package to close package. Creating a link between two packages means that these two packages may call each other.
To create a link, click button "link":

And drag'n drop from origin node to target node:
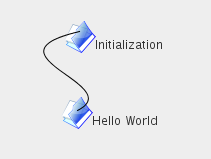
When releasing mouse button, link properties panel is displayed on properties panel:
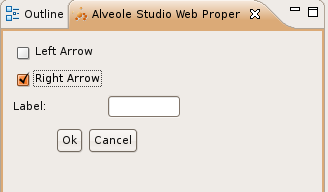
Select "Right Arrow" (this will cause an arrow to be drawn on the target part of the link) and click OK (note that you can also enter a label to be displayed on that link):

Repeat operation to link package "hello world" to package "close":
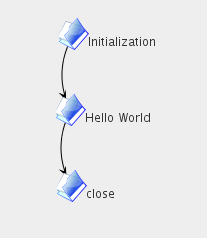
Understanding packages
Packages are used to group nodes. They don't have any signification other than classifying nodes. Do not confuse tree's packages with struts2 packages
. Tree's packages are just used for organizing your code in a functionnal tree, whereas struts2 packages are rather used for grouping actions that are similar, and that depends on the same inerceptors, mappings, results and so on...
Linking packages is used for the following reason:
- Link has a functional meaning, and linking packages may be used to display this functional meaning: in our example, initial package calls "hello world" package, and linking the two packages enables to display this functional relation between these two functional components.
Now that you have linked the two packages, open "Hello World" package by double-clicking on it (first check on tool-bar that edit mode is selected instead of link mode):
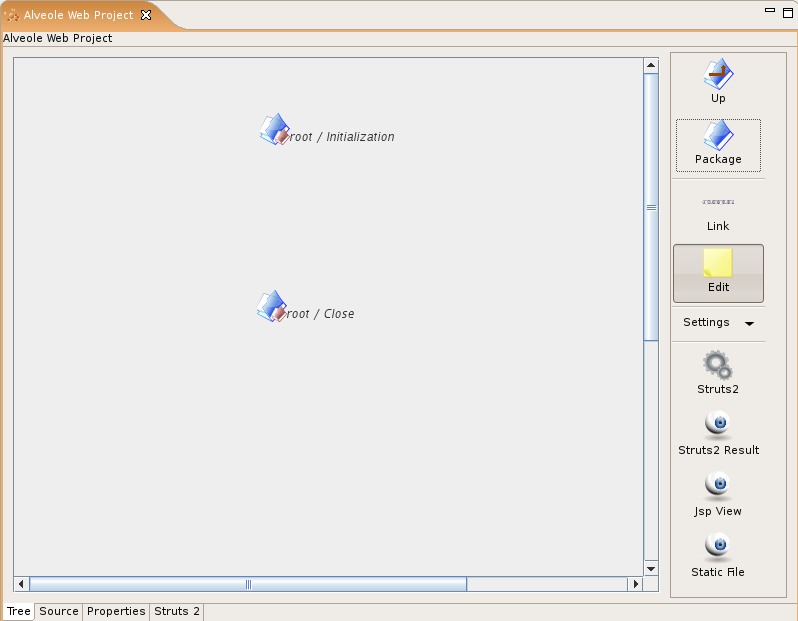
As you can see, this package seems to contain two sub-packages:
- root / initialization,
- root / close.
In fact, these are just references to initialization package and close package. When linking a package to any other node, that means that we create a relation from the package and the linked node. As a result, the node may need to establish links from or to any node contained in the linked package. That's why this node's reference is automatically displayed in linked package.
In our example, initialization package has a link to "Hello World" package. As a result a reference to initialization package is displayed inside "Hello World" package, and a reference to "Hello World" package is also displayed in "Initialization" package. And so on for "close" package.
The default rules for displaying nodes is the following:
- display all nodes contained in current package,
- display references to all nodes linked from or to current package.
To return on root package, click the "up" button on tool-bar.


