Alveole Studio MVC Web Project
- Welcome
- Introduction
- Install
- Migrating
- Support / Contact
- Download
- Sourceforge
- License
- Road Map
- Reference guide
- Development
- JavaDoc

Last Published: 2008 Nov 14
Enter initialization package (double-click on Initialization node).
Click on "struts2" button:

On properties panel, fill action properties as follows:

Fill fields:
Then click ok.

Then double-click on the created node. This open a new Java Class creation wizard:

This creates a new class, and automatically add the init() method:

Note: you can close the Action class. When you simply double-clicks on action node, plugin automatically opens Java source, and focuses on the init() method.
First of all, create a jsp directory inside WebContents. (This operation is not mandatory but it provides a clearer organization of code, because all JSP will be stored under this directory).
Then click on the Jsp view button on tool-bar:

Fill view properties on properties panel:

And click ok...

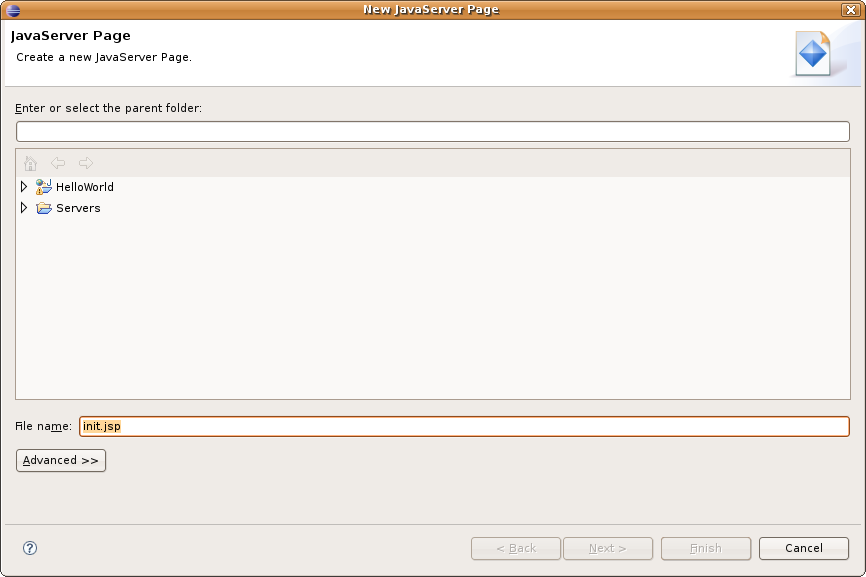
Double-click on the created node. It opens new JSP wizard (or it opens JSP if it already exists).
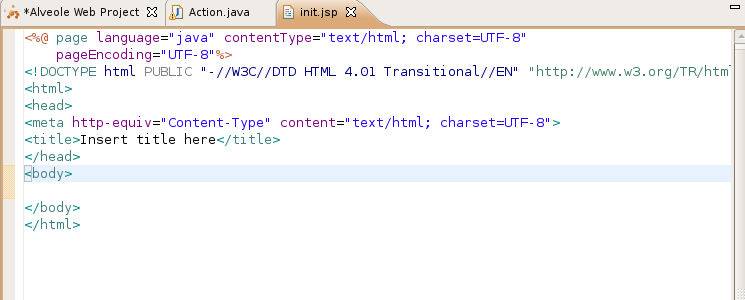
Create your JSP using any provided template:
Instead of classic struts2 taglibs, MVC Web Project provides an extended set of struts taglibs that facilitate use of links between views and other actions. Add the following taglib:
<%@ taglib uri="/alveole-struts2" prefix="s" %>
To fasten your developments, you may add the following JSP template in eclipse:
  <%@ page language="java" contentType="text/html; charset=UTF-8"
    pageEncoding="UTF-8"%>
  <%@ taglib uri="/alveole-struts2" prefix="s" %>
  <!DOCTYPE html PUBLIC "-//W3C//DTD HTML 4.01 Transitional//EN" "http://www.w3.org/TR/html4/loose.dtd">
  <html>
  <head>
  <meta http-equiv="Content-Type" content="text/html; charset=UTF-8">
  <title>Insert title here</title>
  </head>
  <body>

  </body>
  </html>
Creating links from actions to views is interpreted as an action mapping. Links of this type are named, and name is used for action mapping.
Create a link from struts2 node to view node (click link button, drag'n drop link from struts node to JSP view and fill lin properties). Name it "success":
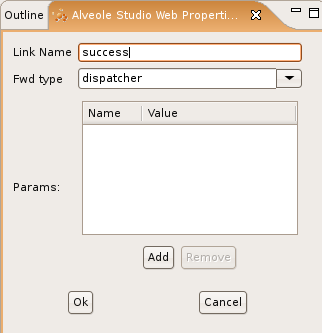
Note that since v0.2.0, you may specify specific parameters in this link. These parameters are copied on action's result in struts2 file.
Then click OK:
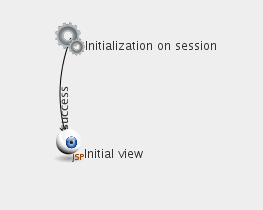
By returning "success" in Action.init(), the created link is followed to displayed the target view.